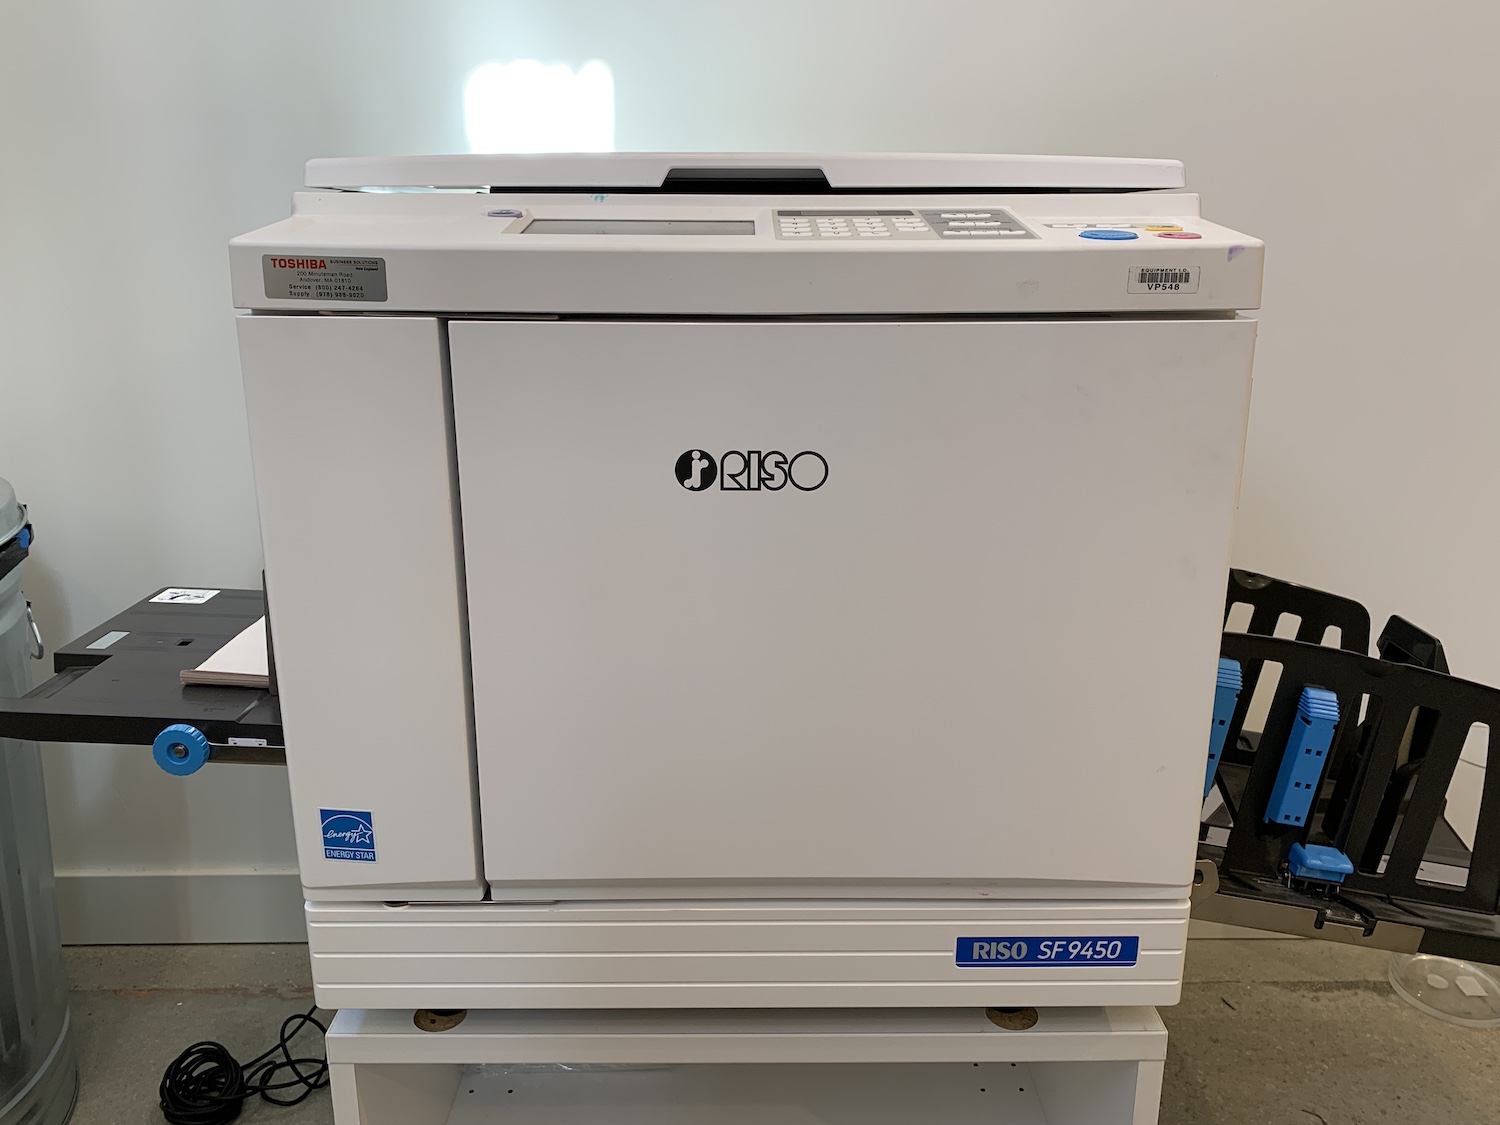

Queer.Archive.Work’s risograph printer is a single drum SF9450, purchased new in 2018. It takes almost any uncoated paper up to 12 7/32 in. x 17 in., from light newsprint to about 120lb. QAW has 6 of the 72 color inks made by Riso: Black, Burgundy, Purple, Teal, Yellow, and Fluorescent Pink (see this handy chart for reference). The ink drums are expensive but we’ll add new colors when we can!
More about Riso
Risograph is a brand of digital duplicators manufactured by the Riso Kagaku Corporation, released in Japan in August 1986. The machine is designed for high-volume copying and printing. The underlying technology is very similar to mimeograph: the original is scanned through the machine and a master stencil is created. This stencil is then wrapped around a drum and vegetable-based ink is forced through the voids in the master. The paper runs flat through the machine while the drum rotates to create an impression on the paper. This entire process is automated, which gives it a magical feeling! The results look and feel like a silkscreened print.
Here’s a good video by Moniker Press that describes the risograph printing process in more visual terms:
Examples of ink colors printed on the QAW riso:
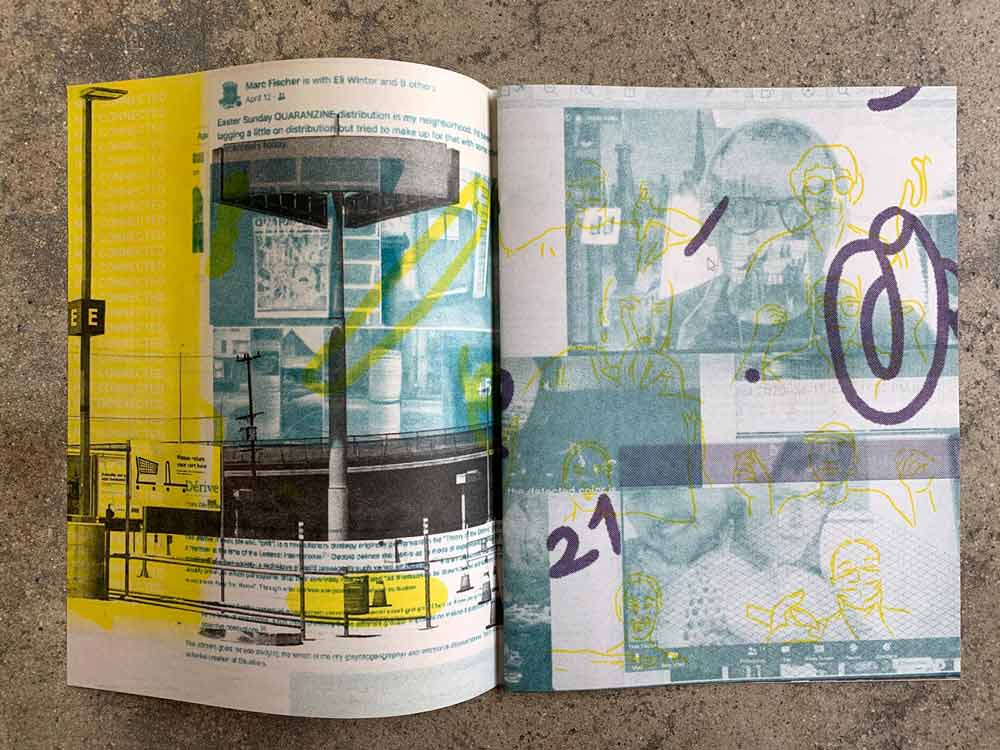
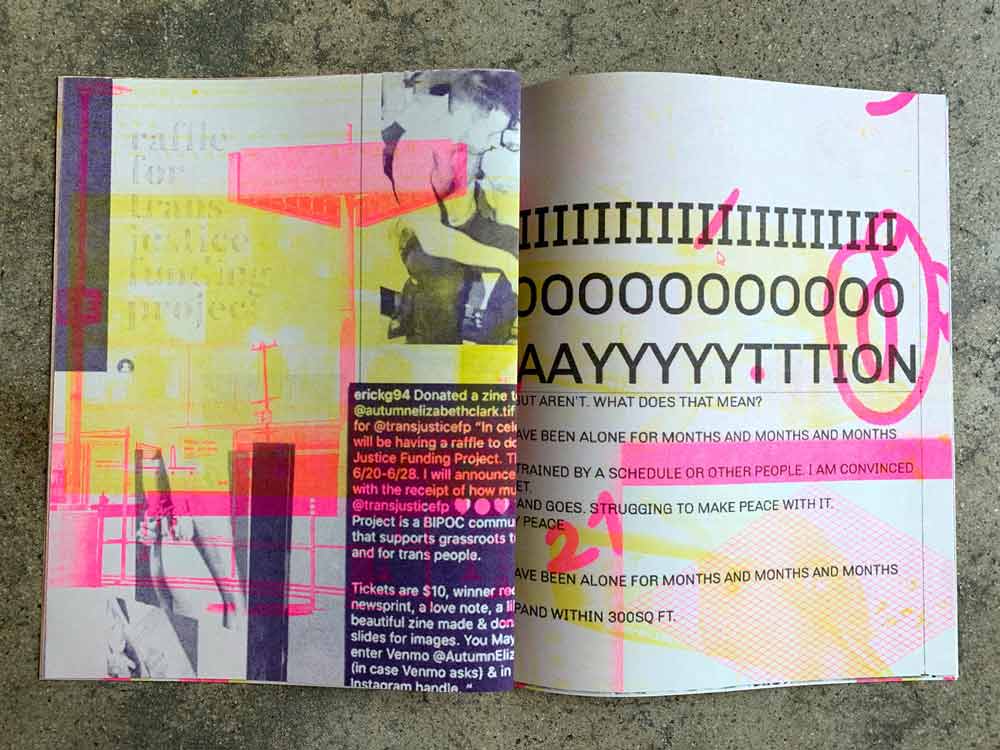
yellow, black, teal, purple on grey paper / hot pink, yellow, purple, black on grey paper
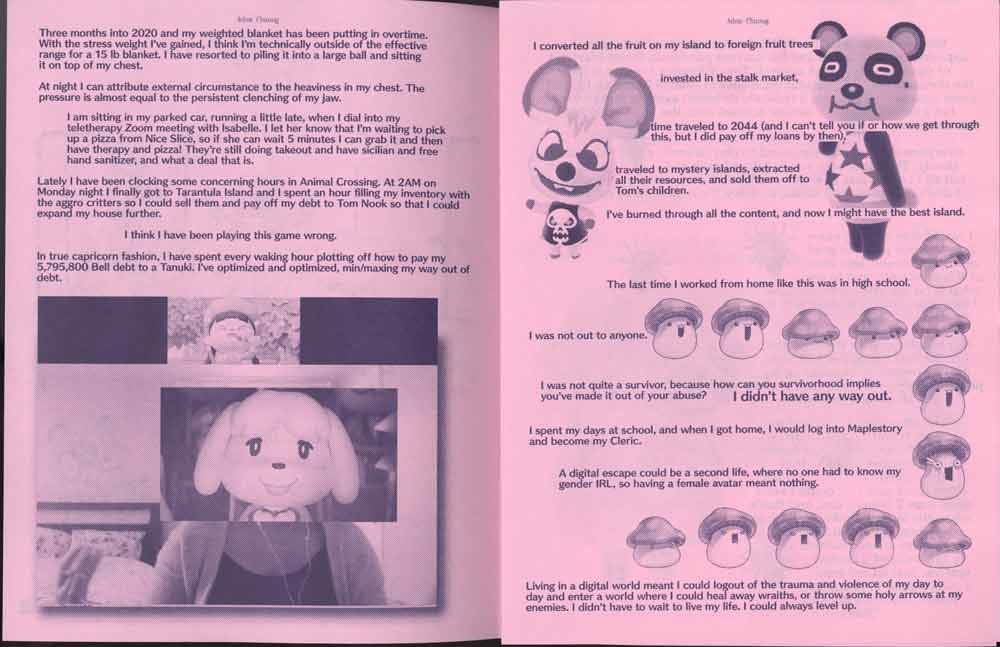

purple, black on pink paper / black on grey paper
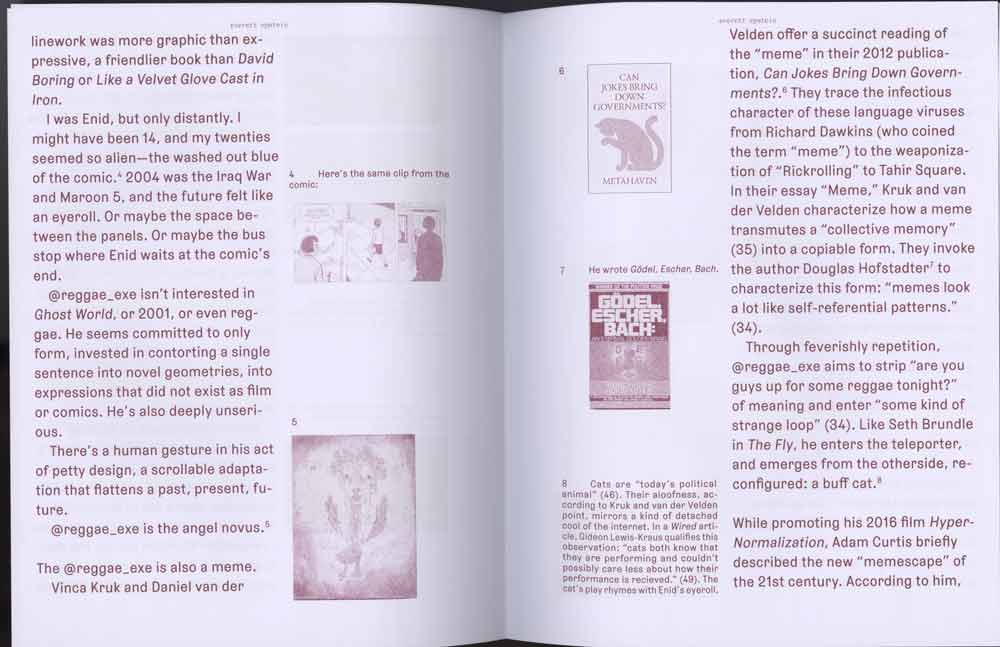
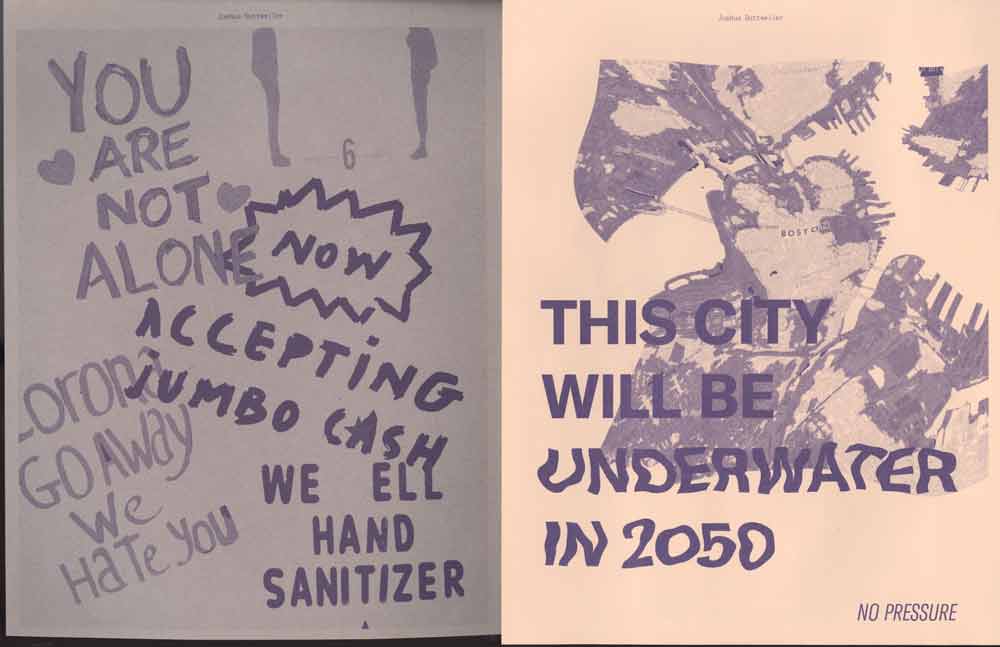
burgundy on white paper / purple on dark grey & tan papers
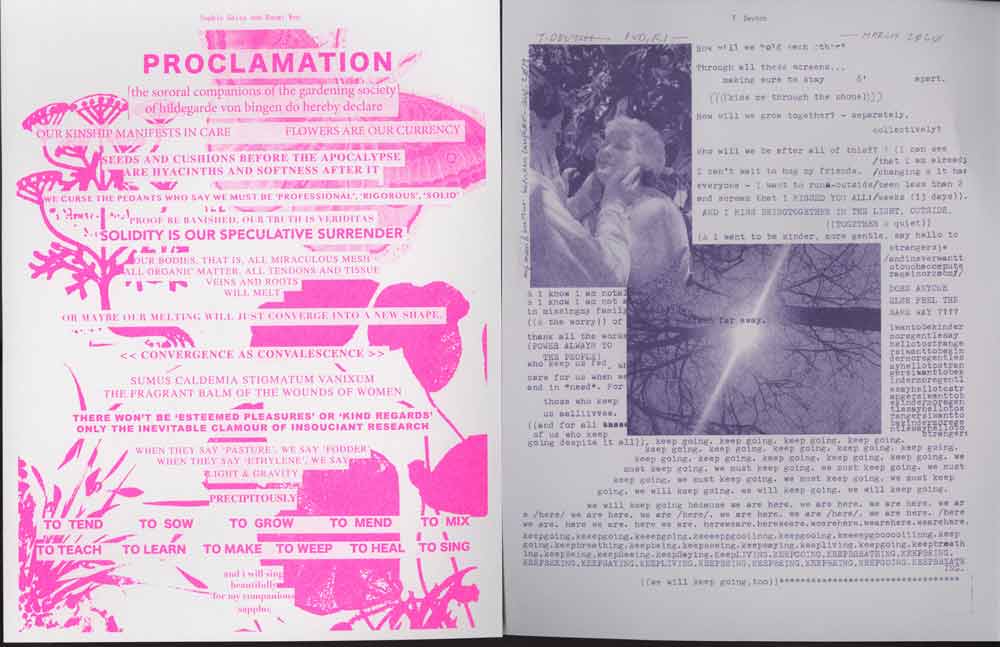
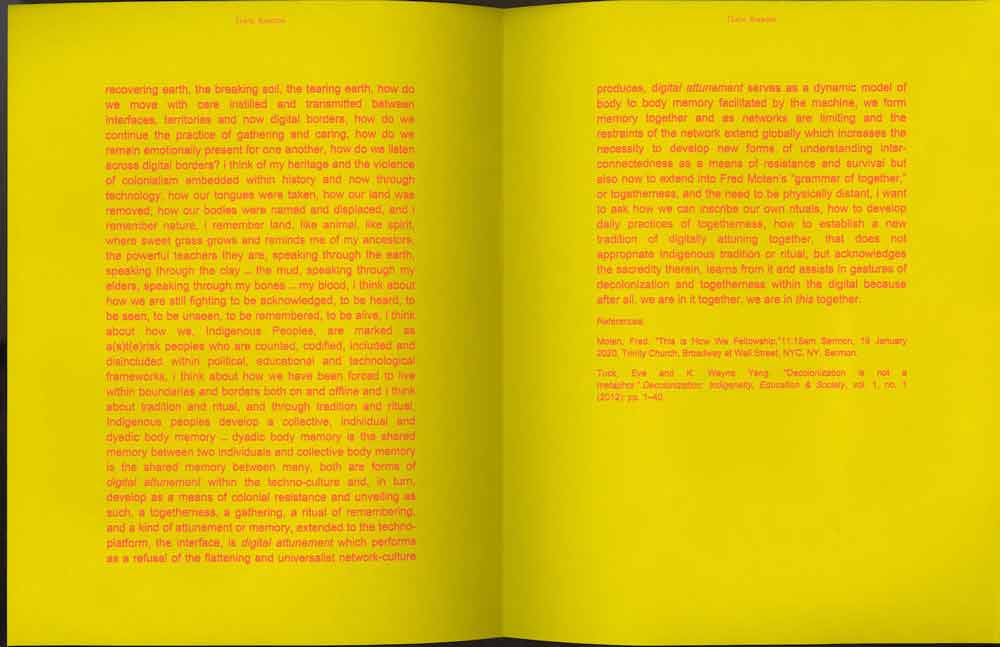
hot pink on white, purple on grey / hot pink on bright yellow (appears as orange)
Instructions for printing with QAW’s riso
1. Turn on printer (power button is on the right side). Check to see which ink is loaded and change the drum to your desired color.
2. To print from the flatbed, raise cover and place art on glass. Using the touchscreen on the printer, select the type of art. If a dot pattern is desired, select the dot density. Lowering the cover will automatically generate a master of whatever is on the flatbed.
3. To print from digital files (PDFs recommended): All printing from digital files happens via the QAW Macbook Air that is connected to the printer with a USB cord. There are 3 ways to get your files onto the computer: a) Airdrop a file directly (it ends up in the Downloads folder), b) email the file to yourself and sign into your email account on the QAW computer to retrieve, or c) connect a USB thumbdrive to transfer a file.
4. Once the file is on the computer, transfer it to the “RISO TO PRINT” folder on the desktop.
5. Open your file in Acrobat.
6. In the Page Setup dialogue box, make sure that the Risograph print driver and the correct paper size are selected (8.5 x 11 Letter or 11 x 17 Tabloid).
7. In the Printer dialogue box, go to the Image tab and choose Photo or Line art. If Photo is chosen (best if there is tonality if your art), choose dot pattern or grain touch for different texture effects. For Line art (best for text or purely graphic/line art), dot pattern, grain touch, or solid are options; grain usually works well with everything. The solid option flattens everything (no tonality at all) and lays down more ink than any of the other options; use carefully, as this option results in extremely wet prints.
8. When your file is sent to the printer, it automatically switches to Master mode, discards the previous master, and generates a new master from your file. This new master is loaded onto the drum and will remain there until a new one is generated. At this point the printer has switched to Printing mode and you can only make prints from this master. You can manually switch from Master to Printing mode by pressing the buttons on the printer.
9. Be sure to load your paper into the paper feed tray before printing. When adding paper the tray must be lowered by pressing the blue button above the tray. The printer automatically raises the tray back up to print.
10. If a jam happens, don’t panic! It’s a normal part of the process. The printer will tell you where to look for the jam: at the feeder, where the prints are output, or inside the printer. If it’s inside, the paper is usually jammed in one of two ways: a) stuck to the master (which typically happens when the art requires so much ink that the paper gets too saturated and sticks to the drum; if this happens, manually peel it off, which may require unlocking and turning the drum to completely peel it), or b) caught inside somewhere in its path from left to right, which usually requires simply dislodging it and pulling it out.
If you plan to do more than one pass through the machine, and/or print on both sides of a sheet, you need to wait 24 hours or more for your prints to dry before the second printing (depending on the humidity). Also: this machine jams easily on large areas of ink. If your art has a lot of ink coverage, plan for a much slower process.
This website is licensed under Creative Commons CC BY-NC-SA 4.0
Queer.Archive.Work, Inc. • Incorporated 2020 •
A 501(c)(3) not-for-profit organization
4400 Harris Avenue, Unit F / Providence, RI 02909
Instagram /
Twitter /
Email